

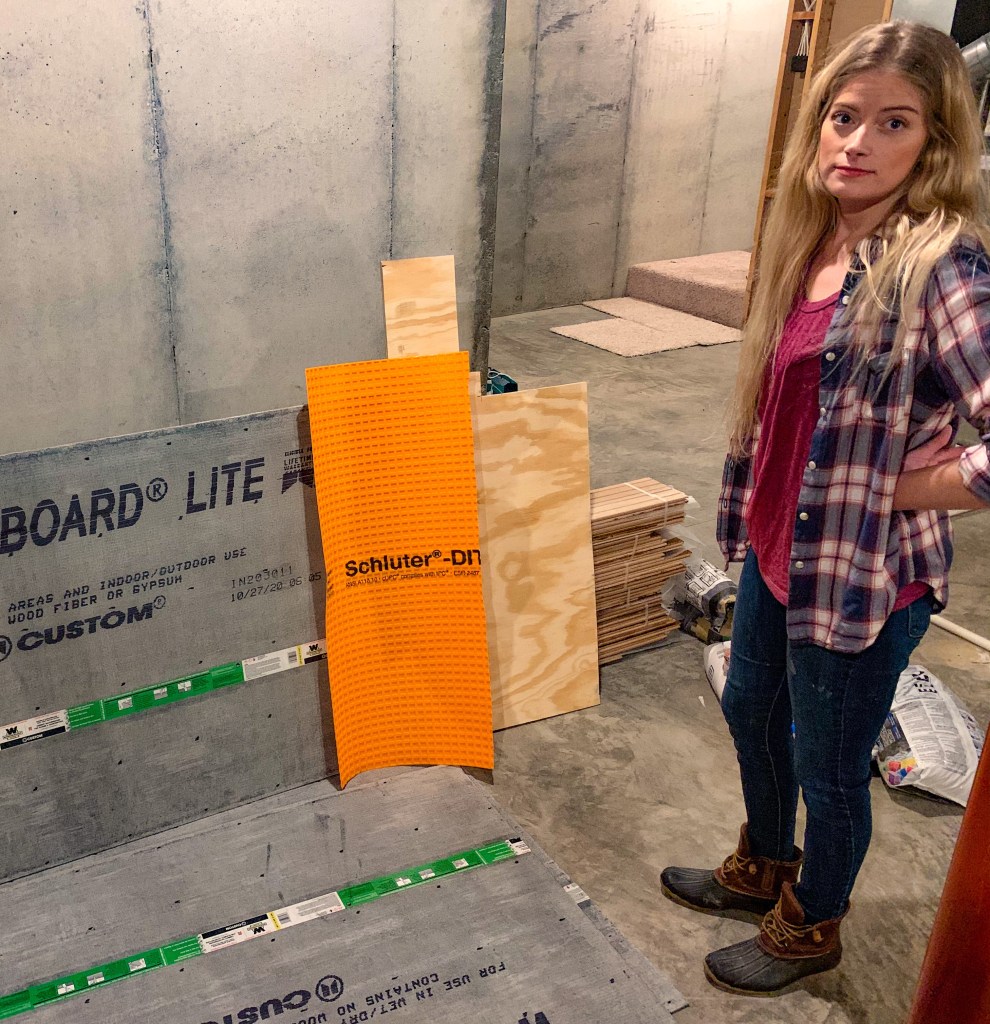
Now that you’ve figured out whether your floor can support the weight of tile, it is time to choose an underlayment. In case you haven’t viewed my first post, underlayment is the layer between the subfloor and the finished flooring material. You should NEVER tile directly onto your subfloor.
Underlayment functions as a proper base for the finished flooring that allows the finished flooring to function and look its best. The underlayment can also add a little strength to the floor and provides a flatter and more level surface for the tile. When it comes to tiling, some people use one layer of underlayment and some people use two layers of underlayment. The most common forms of underlayment are cement backer board (also called CBU and Hardie Backer) and plywood.
So, which underlayment should you use? It honestly seems depend on individual preferences and the factors I talked about in the step 1 post (deflection and weight). I prefer using plywood with an uncoupling membrane on top of it. Sal Diblasi offers a great explanation about the benefits and drawbacks of plywood with an uncoupling membrane vs. cement backer board: https://www.youtube.com/watch?v=ouiAOREmQdc&t=829s&ab_channel=SalDiBlasi
Plywood Underlayment
Plywood Pros:
High quality plywood provides a flat surface for the tile
Thick plywood can add a little strength to the floor (cement backerboard adds zero strength)
You screw the plywood onto the subfloor (cement backerboard requires mortar applied directly to the subfloor).
It is a perfect prep surface for an uncoupling membrane
Plywood Cons:
It is not waterproof, so it can warp if too much water gets on it (but this is not a problem if you add an uncoupling membrane on top of it)
It is not easy to locate the right kind of plywood
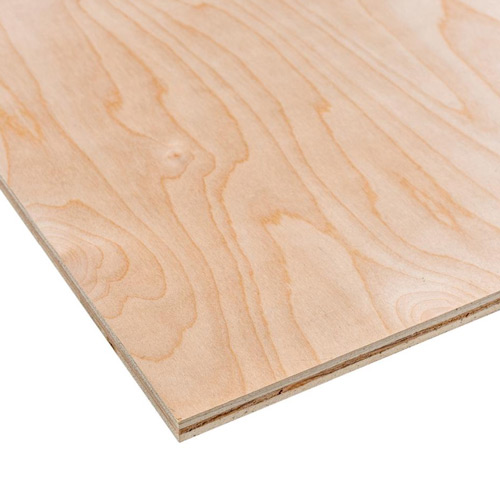
What kind of plywood should you use for your project?
Not just any plywood will work well as an underlayment. You need exterior glue plywood that is at least 1/2″ thick, with a minimal veneer grade of C (nothing lower than that). Veneer grade is important because it refers to the number of potential voids that will be between the layers of plywood. Fewer voids = more strength, and since you will be walking across the plywood, the more strength, the better. It’s also worth noting that if you simply search “plywood underlayment” on Google, you will probably only find 1/4″ thick plywood. 1/4″ thickness works for other applications like linoleum or vinyl, but it does NOT work for tile. The right plywood is hard to find if you search online for it, so here is a link to plywood that would be suitable for this project: https://www.lowes.com/pd/23-32-in-BC-Pine-Plywood/1003140514 This is the type of plywood I used as underlayment, however, I actually purchased the 1/2″ thickness. It was not listed online, but I found it at the store sitting right next to the plywood linked above. Make sure your plywood is not bowed or warped before you purchase it. If it is not flat on the rack, it will not stay flat on your floor.
How thick should the plywood be?
The thickness you choose depends on a few factors including your subfloor thickness and the thickness of the flooring surround the area you plan to tile. If you have a subfloor that is only 1/2″ thick, it makes sense to add a thicker plywood underlayment if you can (23/32″ or more). On the other hand, you do have to consider how much of a height difference you are willing to deal with between the area you are tiling and the surrounding flooring. Some people want the height of their tiled flooring and surrounding flooring to be the exact same height so they do not need to add a transition piece to the floor between rooms. Of course you want the height difference to be minimal so people do not trip on their way into or out of the tiled room, but 1/2″ height difference is not drastic and can easily be remedied with a transition piece (I will eventually write a post about installing transition pieces).
Assistants at Lowes can cut the plywood boards to size for you or you can cut the boards to size at home with an electric saw.
Uncoupling Membranes
What is an uncoupling membrane and why should people use it?
An Uncoupling Membrane serves a few purposes:
It isolates the tile from movement of the flooring underneath it so the tile and grout do not crack. Wood expands and contracts with heat, cold, and humidity, and without an uncoupling membrane, these changes can directly influence the tile and grout (brittle materials that do not respond well to expansion and contraction). The uncoupling membrane prevents that from happening.
It is waterproof, so it protects the wood underlayment and subfloor from water damage
It distributes the weight of the tile more evenly across the floor surface. This is especially helpful for large tile or heavy tile.
It’s only 1/8″ thick
It is not cheap (about $87 for 54 square feet), but I prefer all the long-term protection I can get for my tile!
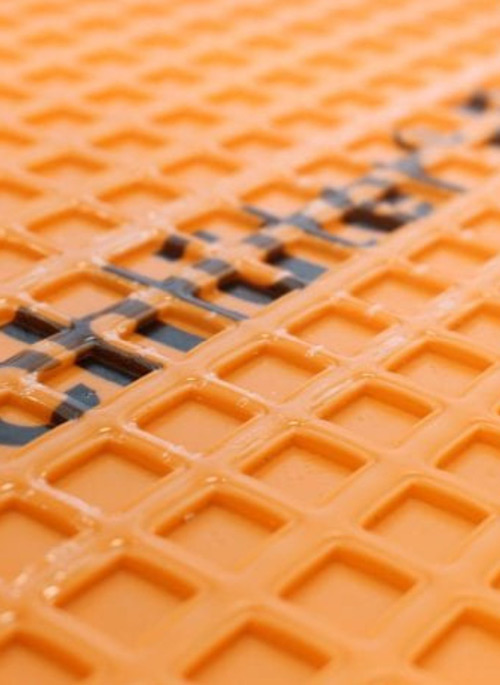
There are several brands of uncoupling membranes, but I used Schluter Ditra based on numerous recommendations on tile forums and videos, and it worked great. It is readily available at Lowe’s. It looks like and orange plastic waffle, and it has soft white fleece on the bottom of it. I will explain more about it in a future post.
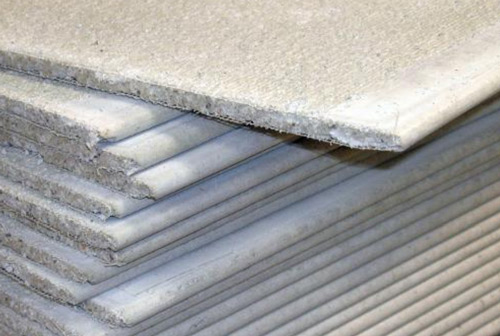
Cement Backer Board Underlayment
Cement Backer Board (Also called CBU, Hardie Backer, etc.) has been the most popular choice under tile for quite a while, though its popularity has decreased a little over time since uncoupling membranes have become popular (they are not recommended to be laid on top of cement backer board). Cement Backer Board is typically available at most big box home improvement stores.
Cement Backer Board Pros:
It is easy to find: the blue and orange stores have it in stock almost everywhere
It is water resistant
It provides a flat surface for the tile
1/4″ thickness is all that is needed to install floor tile, so height difference is less of an issue between flooring areas compared to plywood
It is cheaper than plywood
Cement Backer Board Cons:
It can be heavier than plywood (depends on the type of CBU)
It does not add strength to the floor
You have to apply thin set mortar directly to the subfloor to add the cement backer board
You need to tape the seams between the backer boards when you lay them
Uncoupling membranes are not supposed to be used on top of CBU (plywood only)
