

Assuming you have selected your tile and your underlayment, it’s time to get the project started!
First, you need to remove the current finished flooring in the room you want to tile. The goal is to get down to the bare subfloor so you can add your underlayment. We had wood floors in the bathroom, so we used a pry bar, a hammer, a utility knife, and a painter’s tool to pop off the wood planks and the baseboards. Don’t forget to wear protective glasses. Regardless of your flooring surface, make sure to remove leftover nails, staples, and chunks of glue or mortar from your subfloor. FYI, flooring nails are easy to miss with the eye, so lightly run a hammer on its side across the floor in different directions to check for stray nails. If you notice high spots in your subfloor, you should lightly sand those areas with an orbital sander to make the subfloor as smooth and even as possible. Make sure to remove your base boards. Now is also a good time to cut the bottom of your door frame to accommodate the anticipated height of your finished tile. I needed to cut 1/2″ off the bottom of the door frame. This was simple to do with a dremel tool.
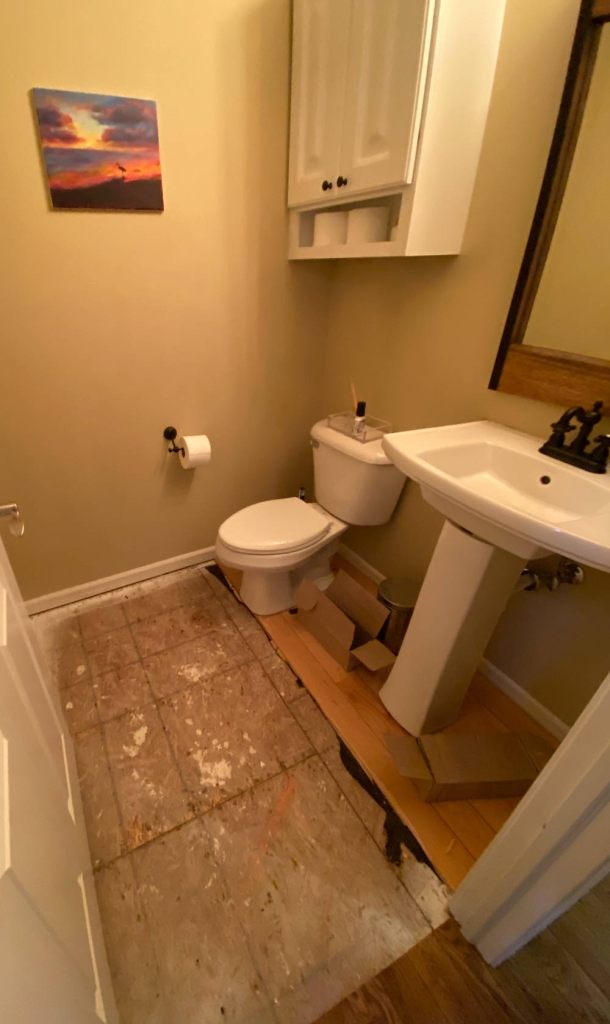
If you’re working in a bathroom, you need to remove the toilet and, if you have a pedestal sink, you need to remove that too. This is MUCH easier to do than I anticipated! You will need latex or nitrile gloves, a large sponge, and a bucket for the toilet and a towel and a small bucket or plastic tupperware container for the sink. I also recommend having a partner help you move the toilet because it can be pretty heavy. The bottom of the toilet is covered in sticky wax, so make sure you place the toilet on a tarp, towel, or cement surface you do not care about instead of your floor . Here are the videos I followed to remove the toilet and the sink (I have a pedestal sink):
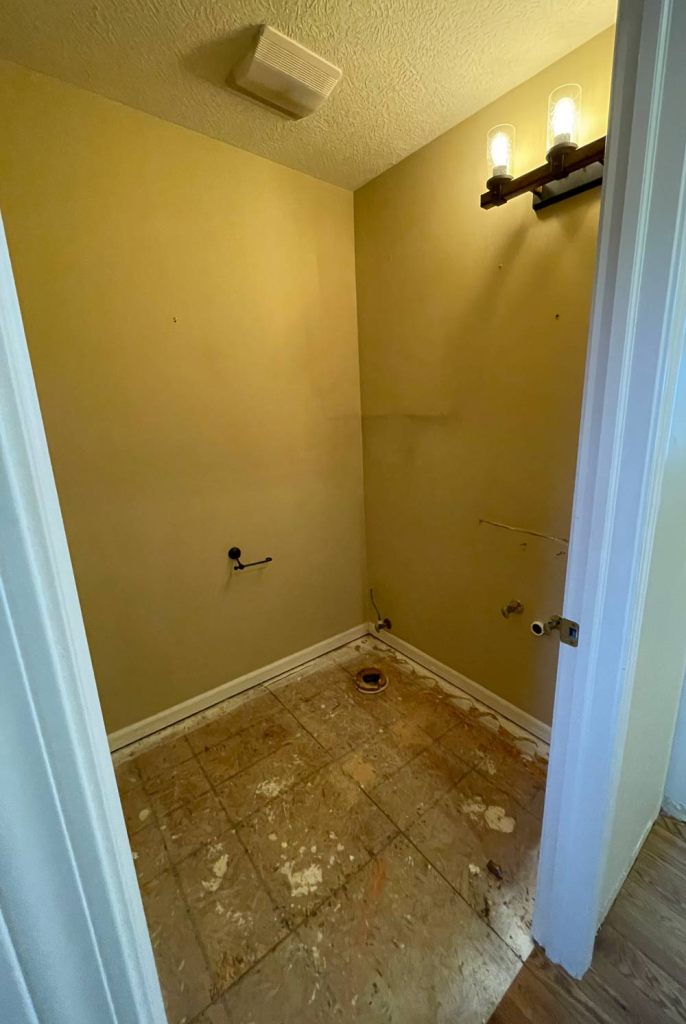
Once you’ve removed all the obstacles on the floor, you need to sweep and vacuum the subfloor to get it as clean as possible. NOW we can move on to attaching the underlayment.
Plan the Underlayment Layout: Whether you use plywood or cement backerboard, you need to measure your space and cut the material appropriately to fit the room. In general, it is a good idea to leave at least 1/4″ between the underlayment and the surrounding walls or cabinets. We left even more space than that and plan to add a thick shoe or quarter round to our baseboards to make up the difference. Underlayment’s long side should always be laid PERPENDICULAR to the direction of the floor joists (for the record, the subfloor panels also should run perpendicular to the joists). Lay the underlayment edges at least two inches away from the joints of the subfloor so the joints of the subfloor and underlayment do not overlap. When you place pieces of plywood or cement backerboard, leave a 1/8″ gap between the pieces instead of butting them directly against each other. This allows for expansion and contraction. Also, cement backerboard pieces should be laid in staggered pattern so that all four corners of the backer boards do NOT meet at a central point. The joints between the plywood boards should not be taped, by the joints between cement backer boards should be taped with alkali resistant tape (it should be found right next to the cement backer board in the store). Then you apply mortar over the taped joints.
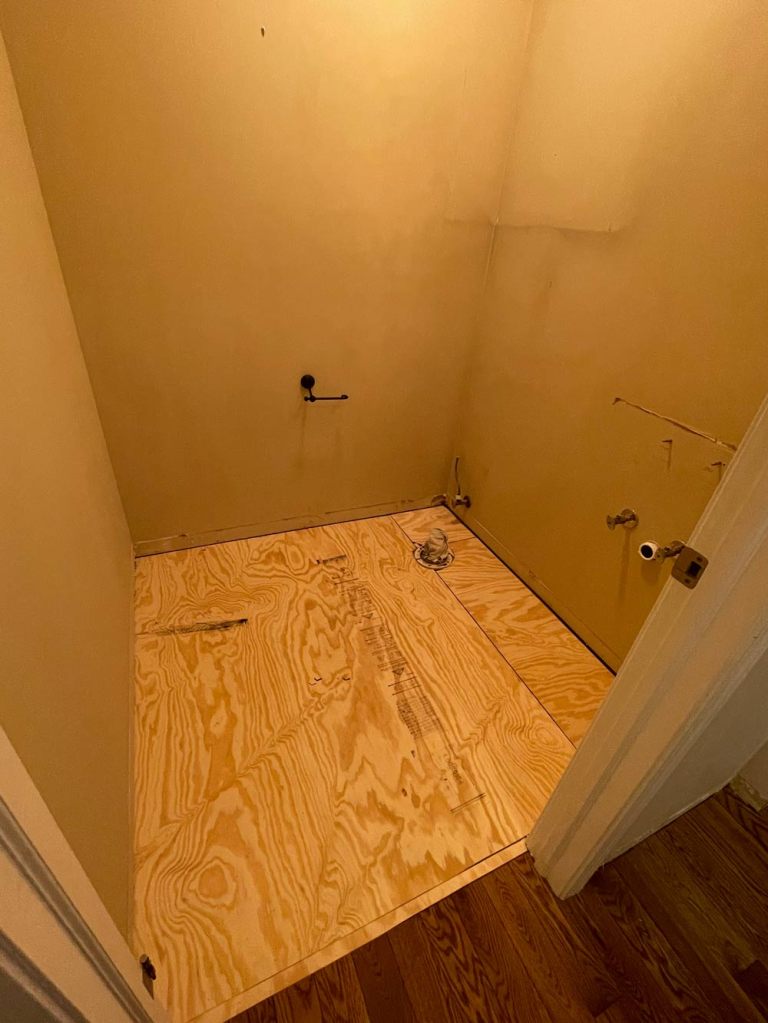
Cut and Dry Fit your Underlayment: If you’re working in a bathroom, you need to cut the underlayment material to fit around the toilet flange. You want to the underlayment as close to the toilet flange as possible without touching the toilet flange. If you are using plywood, you can cut this hole with a jigsaw. If you are using cement backer board, you can use a jigsaw or a utility knife. Keep in mind it’s best to cut your cement backer board outdoors because of the dust. Make sure to test the fit of the underlayment before you start attaching it.
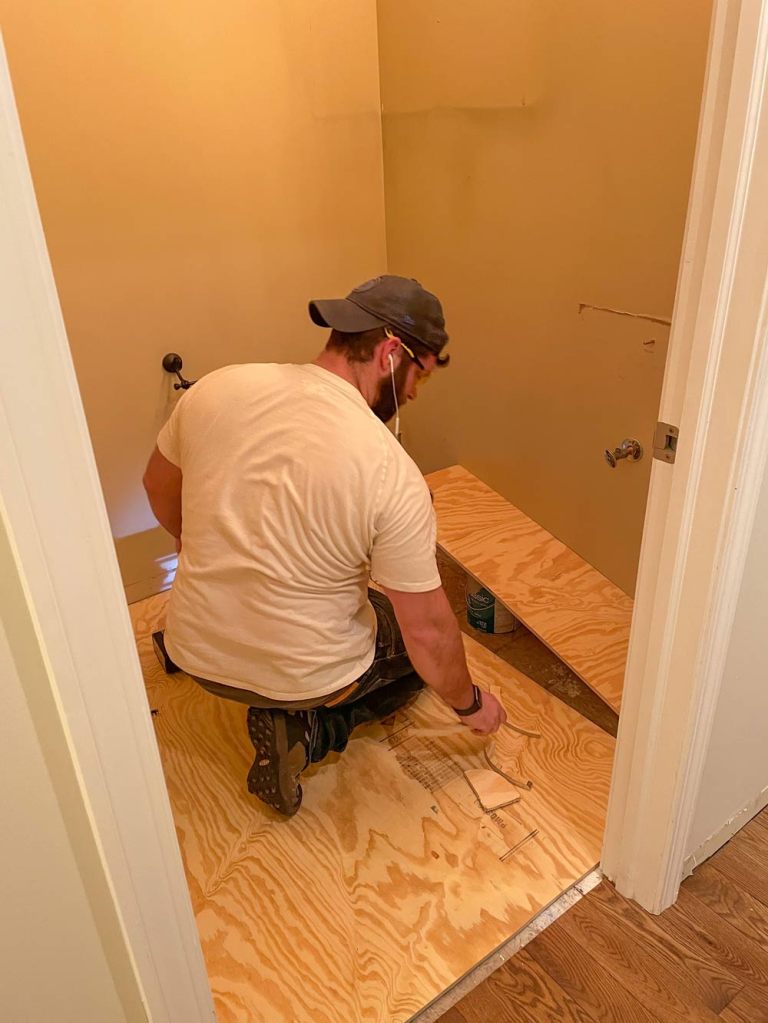
If you are using plywood, your next steps are the following:
Use wood screws to screw the plywood down onto the subfloor. Insert screws six inches apart in all directions, so the underlayment has a giant grid of screws. This will take a while to do, but it will ensure your floor does not squeak after you install the tile. Some installers use wood glue or liquid nails to bond the plywood to the subfloor, but many installers advise against doing that. I decided not to glue the plywood to the subfloor because, in my opinion, if you ever want to change your flooring in the future or have a professional do it for you, it takes way more time, effort, and materials to remove the underlayment from the subfloor if it is glued down. You’d likely need to replace your subfloor. As a DIYer if I messed up or the tile failed, it would be A LOT more work to redo everything if I glued the plywood to the subfloor. That being said, I have a confession to make: I did not screw the plywood to the subfloor. I used a crap ton of 1 5/8 ” nails. Please DO NOT do what I did. I was too eager to get started on tiling, and I didn’t have any wood screws on hand. Trey insisted that it would be fine if I just used nails in the nail gun, so I gave in to convenience despite my research. So far I haven’t observed any consequences of this choice, but I’m already regretting it because I know it’s just a matter of time before I notice annoying squeaks when I walk on the floor. Once you finish screwing your plywood to the floor, it is time to prep for the uncoupling membrane!
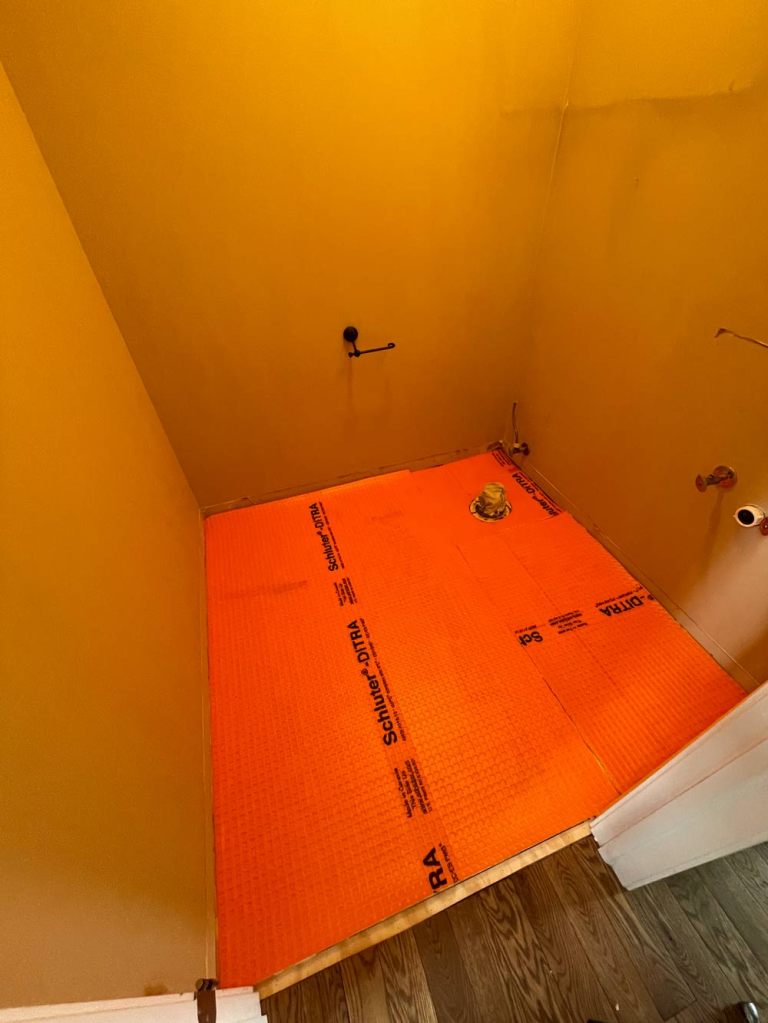
Apply the Uncoupling Membrane: Cut the uncoupling membrane to size using a utility knife. Again, leave about 1/4″ of space between the edges of the membrane and the walls and cabinets (just like the plywood). Unlike the plywood, pieces of the uncoupling membrane should butt up against each other as long as they do not overlap. Dry fit the the uncoupling membrane and, if you have a toilet flange to worry about, cut a hole in the membrane to fit around the rim of the toilet flange.
After that, mix a modified thin set mortar according to the directions on the bag. Make sure to let it slake (sit after the initial mixing without being disturbed) for the advised amount of time.
TIPS FOR MIXING THIN SET MORTAR: First of all, do NOT buy the premade thin set mortar available in containers at big box stores. It sucks. You need to buy the thin set mortar that comes in a bag. Do not mix the thin set by hand. Use a drill with a mortar mixer attachment. Here is the mortar mixer I used: https://www.amazon.com/gp/product/B07KPPSCXP/ref=ppx_yo_dt_b_asin_title_o07_s00?ie=UTF8&psc=1 Wear goggles, nitrile gloves, and a mask to mix the mortar. It is very dusty and inhaling that stuff is not good for the lungs. Pour the water in the bucket before pouring the thin set mix. After the thin set slakes, do not add water. If the mixture is too dry, you should dump out what you just made and start over again. Do not use thin set that is too dry in hopes that it will work anyway (Trust me, it does not work. I tried and failed miserably). The consistency of the thin set should be slightly more liquidy than creamy peanut butter. It should be able to drip off the trowel, but it should also be able to hold the ridges made by the trowel on the plywood.
Once the thin set is ready to go, take the uncoupling membrane out of the room, and wipe down the plywood with a damp grout sponge. Then you need to apply the thin set with a 1/4″ by 3/16″ V notched trowel to the plywood. Make sure to spread it and work it into the plywood surface before creating ridges going in one direction with the trowel. You want to do this at a fast pace so the mortar does not skin over before you lay the uncoupling membrane on it. Place the uncoupling membrane on top of the mortar. Then Press down firmly on the uncoupling membrane with a large grout float and push the grout float across the uncoupling membrane, sliding it from one edge to the other with all of your weight, making sure to go over the entire piece of uncoupling membrane. This will encourage the fleece on the bottom side of the membrane to embed into the mortar. Lift a corner of the uncoupling membrane to check for coverage. Ideally, the fleece will be completely covered in the mortar. If you are not getting full coverage on the fleece, remove the uncoupling membrane and reapply the mortar and try again. I also suggest making sure your mortar has not skinned over and is not too dry before you reapply the mortar. If your mortar is too dry, it will not adhere well to the fleece. Click here for a great video demonstration of this whole process (Sal Diblasi for the win again!). Once you finish applying the uncoupling membrane, you can walk on it and even install tile the same day.
If you are using cement backer board your next steps are the following:
Mix a modified thin set mortar, following the instructions on the bag (See my tips for mixing thin set mortar above). Follow the timing directions exactly. Mortar needs to slake (sit without being disturbed after initial mixing) for the appropriate amount of time in order to work correctly. Then use a 1/4 inch square notched trowel to apply the mortar to the subfloor. Make sure all the ridges in the mortar run in the same direction. Once you covered enough area for one cement board, lay the cement board on top of the mortar. It is safe to walk on the cement board right after you place it on top of the mortar. You will need to do so to fasten the the cement board to the subfloor with cement board screws or galvanized roofing nails. These nails or screws should be added every six inches on the cement backer board in all directions. The length of the nails or screws depends on the depth of your underlayment and the subfloor because you want them to go all the way through the underlayment and well into the subfloor. After that, apply the mortar on top of the tape you used between the cement backer board joints.
On the next post I am FINALLY going to talk about TILING!
